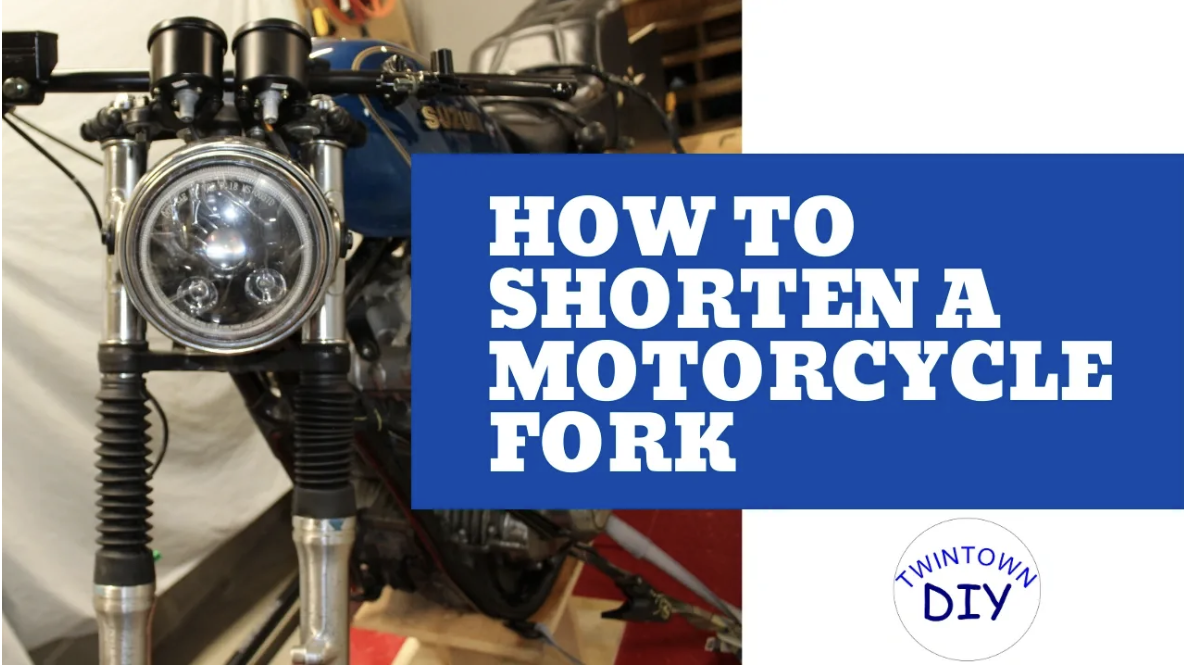
Suzuki GS450 Cafe Racer Build: How to Shorten Motorcycle Forks
I have a 1981 Suzuki GS450L which I am customizing. I want to lower the front end by shortening the fork. I’ll do this by adding a spacer on the damper rod and cutting the fork spring to match. This will change it from 5.5 inches of travel to 3.5 inches. Read through how I did this and check out the video at the bottom of the page.
I’ve already had the forks apart and cleaned them up. So that’s why you won’t see fork seals, oil, and some of the other components in these photos. I’ll start by removing the top cap and fork spring. Then I’ll loosen the damper rod seat from the lower fork leg. After that, I can pull out the stanchion and shake out the damper rod assembly. Again, I’m not showing all of the seals and other parts so we can focus on the actual process of shortening the fork.
Spacer
For the spacer, I’ll be using ¾” EMT pipe, but you may need something different. The spacer needs to have an inside diameter larger than the damper rod with an outside diameter smaller than the damper rod seal. The spacer will go on the damper rod below the spring. I’ll be going with 2” for a change in the ride height and travel. I would suggest starting with less than that until you are sure how much will need and how it will handle. To cut the EMT, I’ll use a standard tubing cutter. You slowly increase the cutting pressure as you rotate the cutter around the pipe. I’ll clean up the ends to remove the burrs from cutting with a bench grinder and wire wheel. You could use a file or variety of other tools to remove the burrs also.
Spring
Moving on to the spring. I’ll be cutting the end at the top of the spring which was near the top cap. The spring will be cut the same amount as the spacer length. So you want to carefully measure to make sure they match up. I’ll use a angle grinder to cut the spring, being careful to line up with my cutting mark and keeping the cut surface as clean and flat as possible. After that is done, I’ll go back to the bench grinder to remove burrs from the cut surface and smooth it out
Assembly
Now putting it all back together. I’m omitting the fork seals and oil since I’m still in the mock up stage and will be tearing it down again later. With the spacer on the damping rod, I’ll put that back in the stanchion. Then shake the assembly to bring the rod through the bottom. Now we can put the damper rod seat on and lower that assembly into the fork leg. The spring is slightly tapered at the bottom end. So make sure that end goes towards the bottom of the fork stanchion. Next I’ll tighten the hex bolt securing the rod seat to the bottom of the fork leg. There is a small amount of spring that is compressed when reinstalling the top cap. Reinstalling the top cap is easier when it is on the bike.
I’ll be using fork boots, but will shorten them up some later. I’ll leave them on here to help show the difference.
Summary
Here you can see the difference between the 2 forks after only modifying the one on the right so far. Of course, make sure you modify both sides of the fork!! I’m also planning to slightly lower the rear end with different shocks. After the build is done, I’ll see how it rides if I need to make any tweaks. Time will tell if these changes are what I end up using long term. If I did want to change the fork back to stock, I would need to get new springs and remove the spacer. That concludes how I shortened the fork on my Suzuki GS450L, hopefully this was helpful if you are considering a similar change to your bike.
Let me know in the comments how similar modifications have turned out for you.
Interested in more? Check out this article on components used in my cafe racer build.


